Thursday, July 28, 2011

Victorian Covered Box

Here is another design I created using the soft color palette. I just love the muted tones. This beautifully decorated paper Mache box would make a great addition to any gift. This box not only serves as stylish gift wrap but also doubles as elegant reusable container. This design would work with any shape box. I created this design for Scotch Brand.

Difficulty – Medium

Materials
  • Paper Mache Box
  • Floral patterned scrapbooking paper
  • Sage scrapbooking paper
  • 1 sage fabric flower
  • 5/8 inch-wide pink grosgrain ribbon
  • 3/8 inch-wide wine grosgrain ribbon
  • 1/8 inch-wide pink satin ribbon
  • Metal flower accent with pearl (jewelry finding or button)
  • Scotch® Precision Scissors (for cutting scrapbooking paper and ribbon)
  • Scotch® Craft Glue Stick (for attaching scrapbooking paper)
  • Scotch® Quick-Dry Adhesive (for gluing ribbon and accents)
Instructions
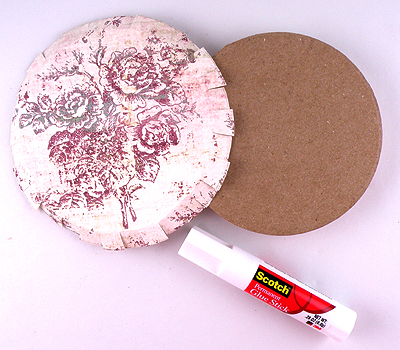
  1. Cut a piece of the floral scrapbooking paper with Scotch® Precision Scissors the size of the top of the box plus 1/3 inch for overlap. Cut slits in the overlap edge – this will help the paper form to the side of the box lid. Attach the paper to the top and sides of the box lid with Scotch® Craft Glue Stick.
  2. Cut a piece of the sage paper the height of the box and the length to wrap around the box. Cut a piece of the floral paper the height of the box and about 3 inches wide to create an accent for the front of the box. Attach with Scotch® Quick-Dry Adhesive.
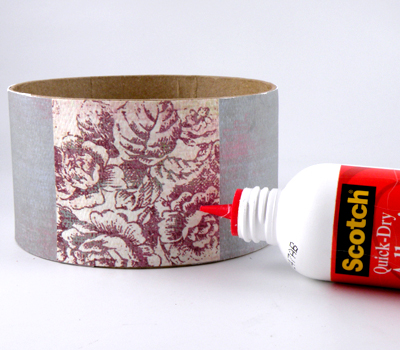
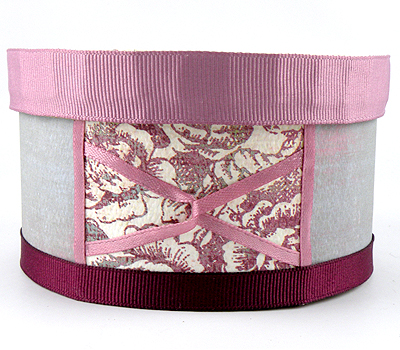
  3. Glue a piece of the pink and wine colored ribbon around the side of the lid and bottom edge of the box. Attach two pieces of 1/8 wide ribbon to the front of the box and interlock and form an X. Finish the edges of the front accent paper with ribbon on each side of the X.

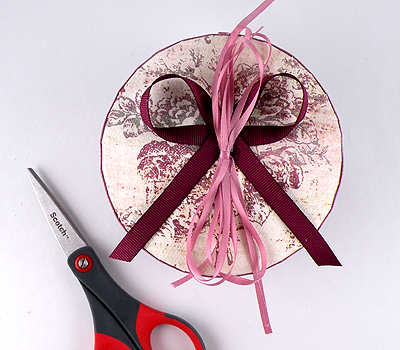
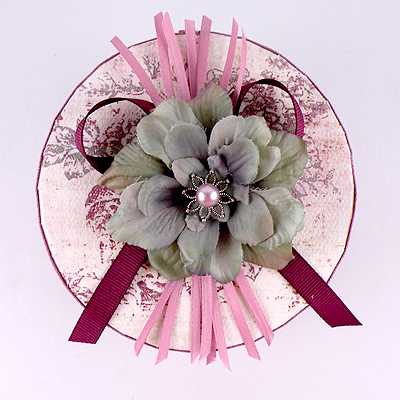
  4. Make a bow with the wine colored ribbon and attach to the top of the box. Wrap 6 loops of the 1/8 wide ribbon together, tie in the center and glue to the top of the box lid. Cut the loops of the 1/8 inch wide ribbon loops to form a fringe.

  5. Glue the flower to the center top of the lid and attach the metal accent and peal to the center of the flower with Scotch® Quick-Dry Adhesive. Let dry.




Tuesday, July 12, 2011

Muted Tones and Double-Sided Scrapbooking Paper

I love working with muted tones and subdued colors — they make such elegant designs. I found some double-sided scrapbooking paper in a cardstock weight with a beautiful pattern on one side and a coordinating solid on the other both in soft shades. It is so much easier to create a project when you already have the perfect color combination all on one piece of paper. I always save money when I find a double-sided paper I like because I don’t have to buy additional paper to match the colors. There were a few different designs of scrapbooking paper in the same palette so I purchased them all. The colors just spoke to me as if they were saying “please take home and make something beautiful with me”.

I also bought a stem of soft colored wedding flowers and several vibrant colors of ribbon that I wanted to mix into the design. All of the materials were purchased at a local Michaels craft store.

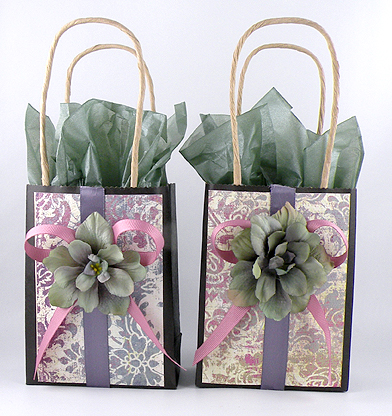
Here are the mini gift bags I created with these items for my daughter's end-of-the-year teacher gifts. They were so easy to create and looked beautiful! I was very happy with my color choices. I only used one side of the scrapbooking paper for this design. I will post more projects using these materials soon.

Friday, July 8, 2011

Wrapping the Wrap

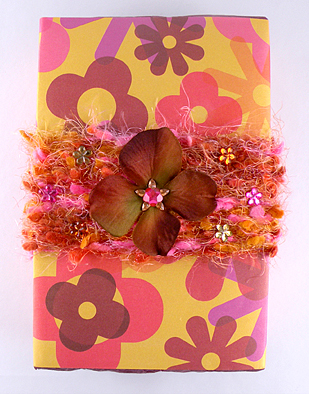
Here is a quick way to wrap a pretty gift with things you have on hand. A band of yarn wrapped around the box is a fast way to add interest with texture and dimension. This gift took less than 10 minutes to create and didn’t cost a thing. Look around your house, you will find all sorts of treasures you can used to adorn a gift.

Click here for instructions