Showing posts with label Gift Wrap. Show all posts

Thursday, January 29, 2015

Painted Bubble Wrap

Painted Bubble Wrap

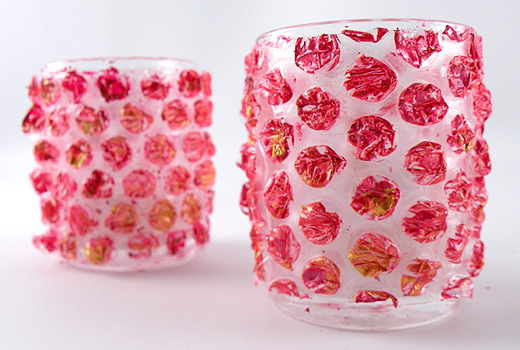
I am always looking for new ways to reused what I already have on hand. For some reason, I had the idea of painting bubble wrap to give my gift bags and boxes a nice textured...almost beaded look. I was surprised how nice it came out. At first glance, it doesn't even look like bubble wrap. I created this heart gift box out of a tissue box where I cut out hearts shapes on all sides and decorated with my painted bubble wrap.

Materials
  • Tissue Box
  • Bubble Wrap
  • Foam Brush
  • Acrylic Paint
  • Gold Cord
  • Craft Glue
  • Tissue or Decorative Mesh Fabric
painting-bubble-wrap
    painting-bubble-wrap
  1. For box design, cut off the top of a tissue box and cut the top edges into a heart shape on all sides of the box. It is best if you make a heart pattern to fit the box because you will be using it to cut out the bubble wrap as well.
  2. Paint the heart box light pink.
  3. Paint the bubble wrap with the foam brush. It is nice how the paint only attaches to the bubbles.
  4. Painted Bubble Wrap

    I am always looking for new ways to reused what I already have on hand. For some reason, I had the idea of painting bubble wrap to give my gift bags and boxes a nice textured...almost beaded look. I was surprised how nice it came out. At first glance, it doesn't even look like bubble wrap. I created this heart gift box out of a tissue box where I cut out hearts shapes on all sides and decorated with my painted bubble wrap.

    Materials

    • Tissue Box
    • Bubble Wrap
    • Foam Brush
    • Acrylic Paint
    • Gold Cord
    • Craft Glue
    • Tissue or Decorative Mesh Fabric
       
    1. For box design, cut off the top of a tissue box and cut the top edges into a heart shape on all sides of the box. It is best if you make a heart pattern to fit the box because you will be using it to cut out the bubble wrap as well.
    2. Paint the heart box light pink.
    3. Paint the bubble wrap with the foam brush. It is nice how the paint only attaches to the bubbles.

      bubble-heart
    4. Cut out four heart shapes to match the ones cut out on the box and attach with craft glue.
    5. Glue the gold cord around the heart to outline the heart.
    6. Fill the box with tissue or decorative mesh fabric.
    7. votives

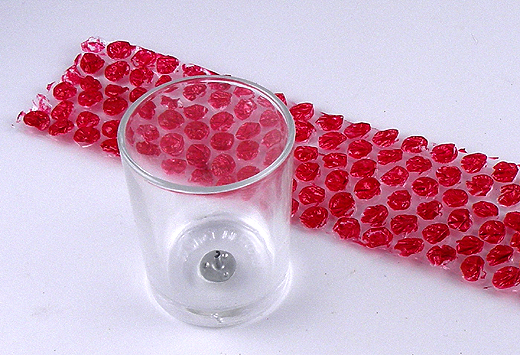
      I liked the look of the painted bubble wrap so much that I also used it to cover votive candle holders. They have such a pretty glow when the lights are dimmed.
      bubble-votive

      Paint a strip of bubble wrap the size to wrap around the votive candle. Attach it to the votive with double-sided tape. I only use battery tea lights with these because I don't want to risk melting the bubble wrap.

      bubble-heart
    8. Cut out four heart shapes to match the ones cut out on the box and attach with craft glue
    9. Glue the gold cord around the heart to outline the heart.
    10. Fill the box with tissue or decorative mesh fabric.

    votives
     
    I liked the look of the painted bubble wrap so much that I also used it to cover votive candle holders. They have such a pretty glow when the lights are dimmed.
     
    bubble-votive
     
    Paint a strip of bubble wrap the size to wrap around the votive candle. Attach it to the votive with double-sided tape. I only use battery tea lights with these because I don't want to risk melting the bubble wrap.

Saturday, December 22, 2012

Holiday Gift Looks

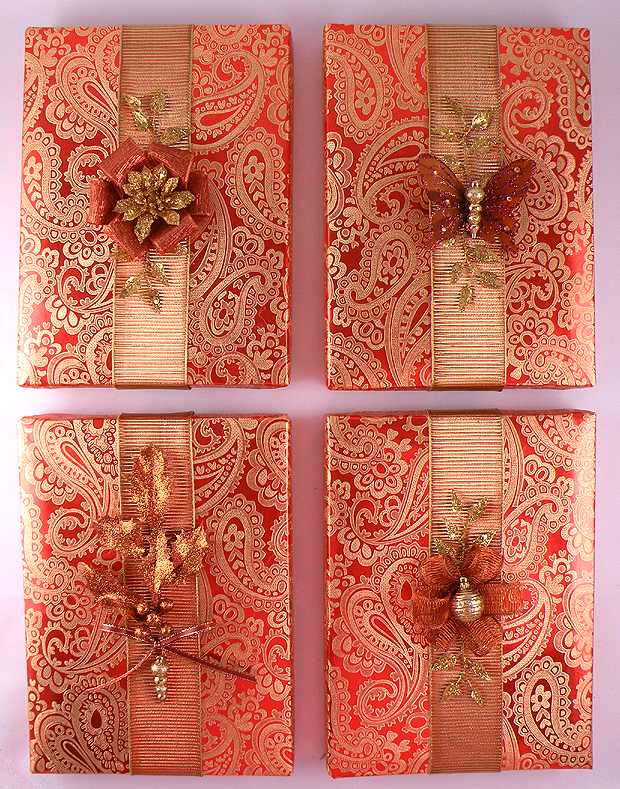
I have compiled photos of some of the gifts I have wrapped to give some ideas of how to wrap gifts in a beautiful way that are unique for each individual. I always like to change the style of my gift decorations to suit the personality of the recipient. I think that the presentation of the gift is just as important as the present itself. I love to see someone’s face light up when they are given a gift that has been wrapped with care. It makes them feel special and brings extra happiness to their day.

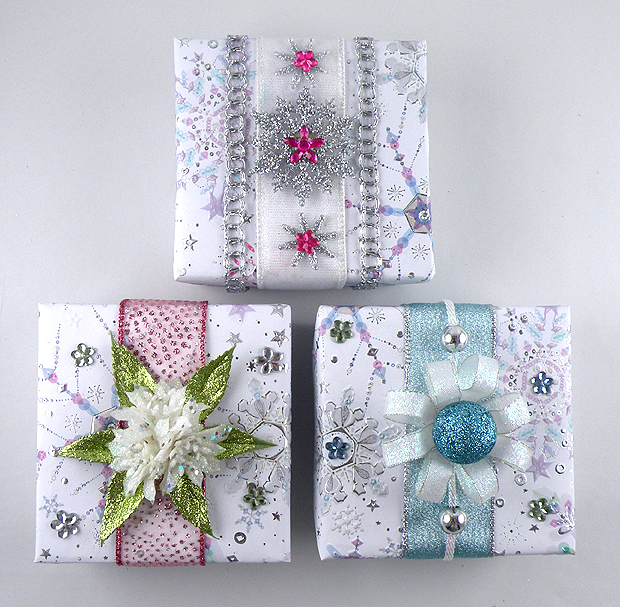
Icy Gifts

I used ornaments, beads, holiday picks, ribbons and rhinestones to make these icy gifts. This winter theme is perfect for a nonspecific holiday.


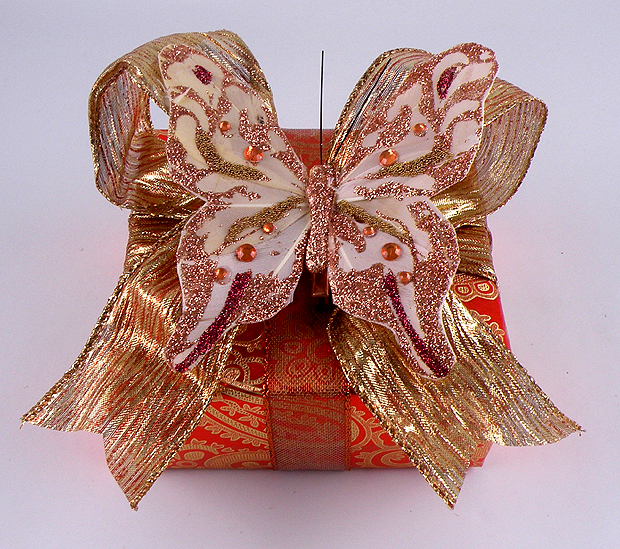
Papillon

I love tone-on-tone gifts. I found inexpensive butterflies at the craft store and exaggerated the wings with a big fluffy bow that I made from wired ribbon.


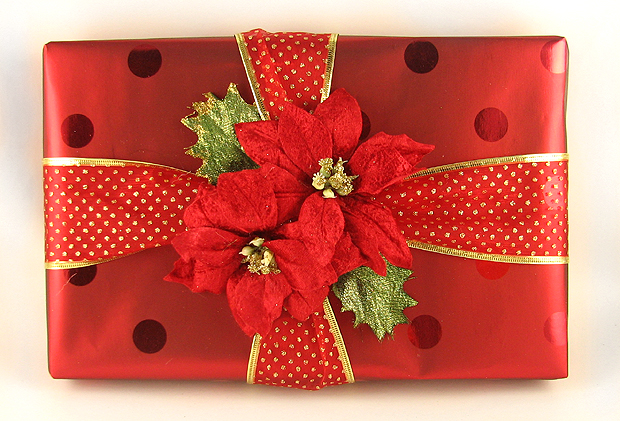
Poinsettia Power

Holiday flowers are an easy way to add elegance to a gift without making a bow. Just pull them off the stem and glue them directly on to the center of the gift. I like to cut off a few leaves and tuck them under the flowers to add a little more color.

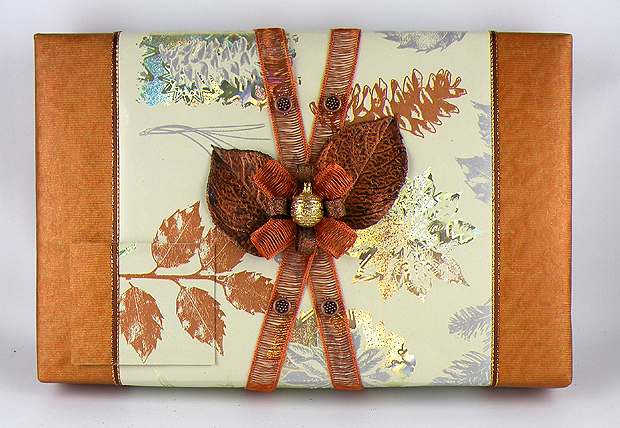
Brawnz

Leaves

This is more of a masculine gift with the bronze leaves and beads for the brawny man who doesn't like flowery gifts and bows. I layered two types of paper to get this look and then lined the raw edges with thin ribbon. If you notice, I matched the wrapping paper on the left bottom side to make a gift card that blends into the gift.

Five Minute Gift Wrap This was just a quick five minute gift I wrapped because I had to run out the door with a present on short notice. I doubled tissue paper for the wrapping and found some ribbon pieces, beads and flowers to make look classy. You can never go wrong with a tone-on-tone gift design...it makes even the simplest gift look elegant.

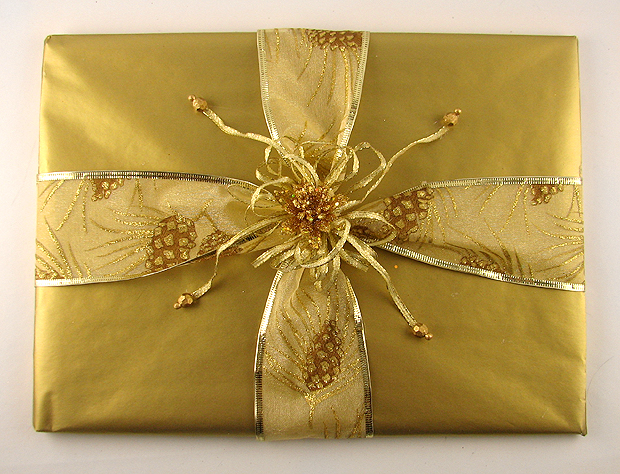
Deja Vu

Tone-on-tone again but each of the accents is slightly different. I like to cut pieces off of holiday picks to attach to the gift to add warmth and elegance. These were also very quick and easy to make.  I just wrapped a band of ribbon around the gift and glued on accents. People look at these designs and at first they think they look almost same but yet somehow different....


I hope this gives you some ideas and inspiration. Just remember, there are no rules to gift wrapping. Just be creative and your gift will come out beautiful and unique.

Happy Wrapping!  

Saturday, November 24, 2012

Shopping Bag Wrap


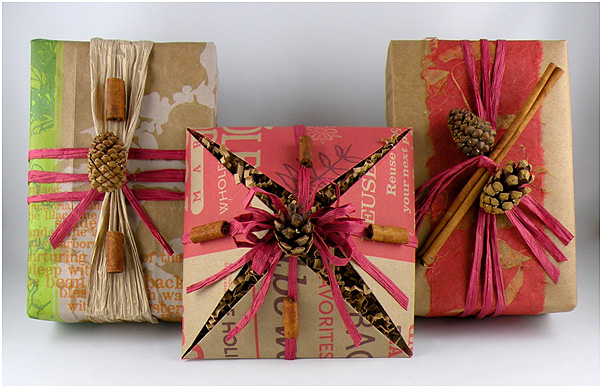
This trendy design is inexpensive to create and the cinnamon gives the gift a nice holiday scent.

Now that Thanksgiving is over it’s time to start thinking about the holidays. While you are still feasting on your turkey leftovers, it's a good time to start gathering items to wrap your holiday gifts. I remember the days when I would spend $80 to $100 on decorative wrapping paper to make my gifts look unique and beautiful. Everyone would always say “Gina always wraps the best gifts!” I have come to realize that the most interesting gifts do not have to be created with fancy, pricey wrap and embellishments. Some of my favorite designs are wrapped with reused items and natural elements like this shopping bag wrap.

The sooner you start getting your supplies together the less money you will spend on gift wrap. You can even start making some of your gift bags and pre-wrapped boxes in advance. Over the next few weeks, I will be posting design ideas and tips on how to save money wrapping gifts this holiday season.

How to make the Shopping Bag Wrap