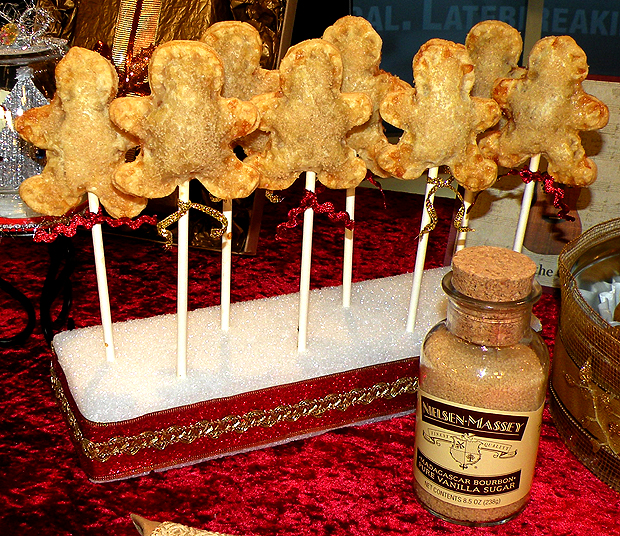
I thought it would be a fun for the holidays to make mini apple pies on a stick shaped like gingerbread people. I knew I would have to precook the filling for these little pies first or the apples would never get soft. I researched Classic and Dutch apple pie recipes to get an idea of how I wanted to make my filling. I used store bought pie crust to save time because with so much to do for the holidays.
Materials
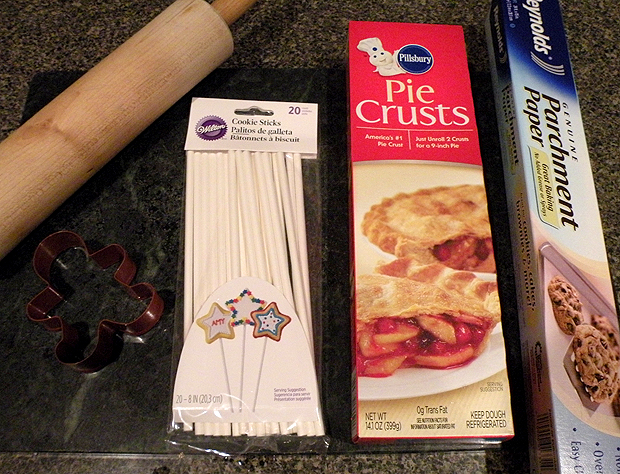
- Rolling Pin
- Pastry Board or cutting board
- Cookie Sticks
- Pie Crusts
- Parchment Paper
- Cookie Cutter
- Baking Sheet
Filling Ingredients
Add filling. I have a tendency to add too much and it starts to squeeze out when I am sealing the pies.

Add the top piece and use a cookie stick to press and seal the edges together. You can break a small piece off of the cookie stick to make it easier to maneuver around the other pies.

Brush top of the pie people with egg whites…this will give the baked pies a beautiful golden brown appearance.

Sprinkle the pies with vanilla sugar for that extra special touch.

Preheat the oven to 375 degrees and bake for about 12 – 15 minutes. Start checking at 12 minutes to see how they look. Keep baking until they are golden brown.

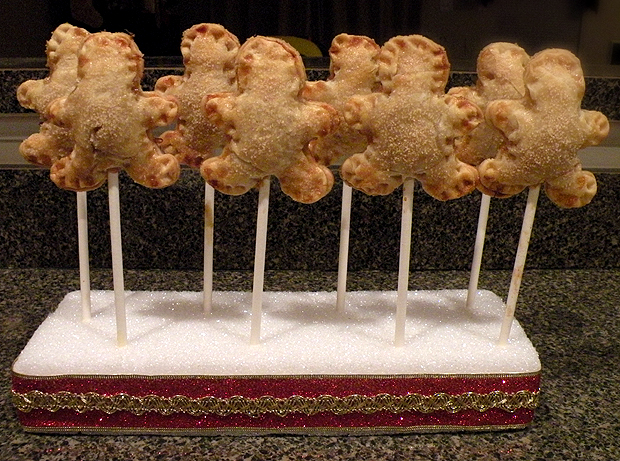
Push the sticks of the baked pies into Styrofoam to cool. Decorate the Styrofoam with ribbon and tie bows around each of the pie pops for a pretty presentation.

Be creative and use different cookie cutters to come up with your own pie pop shapes. You can also use different types of fillings to create all types of fun pies on a stick.
- 3 Large Granny Smith Apples
- 4 Large McIntosh Apples
- 1 tablespoon fresh Lemon Juice
- ½ t lemon zest
- ¾ cup sugar
- 2 t cinnamon
- ¼ t nutmeg
- ¼ t salt
- 1 T dark brown sugar
- 1 T butter
Crust Ingredients
- Pre-made Pie Crust
- Egg White
- Nielsen-Massey Vanilla Sugar or Raw Sugar
- Cooke Pop Sticks
- Ginger Bread Person Cookie Cutter
- Parchment Paper
Mini Pie Holder

Peel and core the apples. Cut them into ¼ inch slices, chop them into smaller pieces and place them in a large bowl. Toss the chopped apples with lemon juice and zest. Since it was my first time making this filling for pie pops, I cooked the apples in slices. They were too big and I had to chop them up smaller after they were cooked so they would fit into my gingerbread shapes.
Mix the sugars, cinnamon, nutmeg and salt in a medium bowl. Toss the dry mixture into the apples. Start with ½ cup of sugar. I you want a sweeter filling, the additional 1/4 cup of sugar can be added if needed.
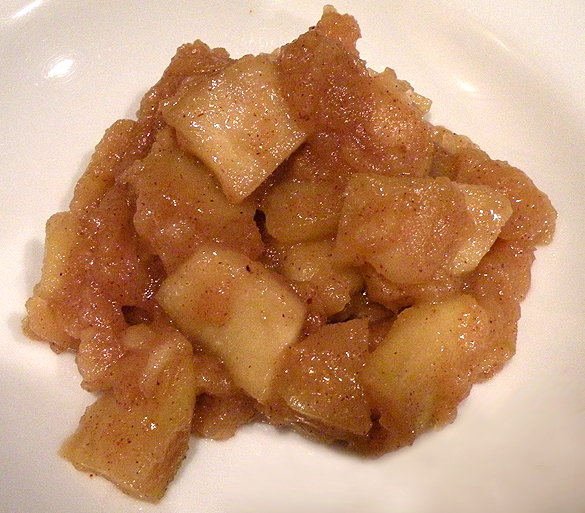
Heat 1T butter over a medium heat in a Dutch oven or medium sauce pan and add the apple mixture. Coat the apples with the melted butter and cover to cook. Stir occasionally until the apples get soft, about 10 minutes. The McIntosh Apples with start to break down. Taste the filling while it is still cooking to see if you need to adjust the sugar and spices to your taste.
Once the apples are soft, remove the lid and continue to simmer until thickened. You don’t want to have runny liquid in the filling or you will have soggy pie pops and they will fall off the stick.
Remove the filling from the pan and let cool.
Ginger Bread Shaped Pie Instructions
Unroll your pie crust onto a pastry board and start punching out ginger bread shapes. Roll out the extra pieces of crust to make more shapes.


Place the cut people shapes on a parchment covered cookie sheet.

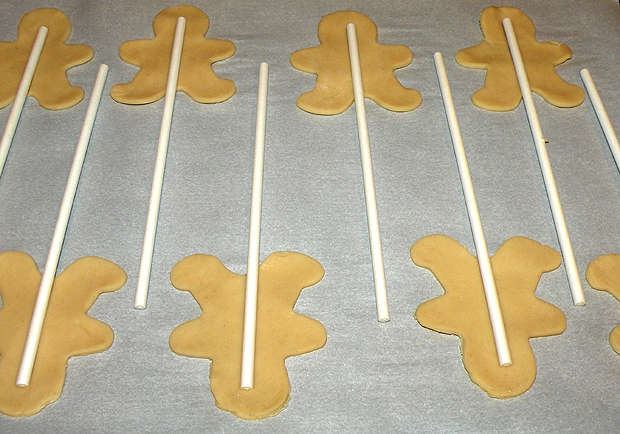
Press a cookie pop stick into to cutout shapes. I put them to halfway up the head so the cooked pies would be secure.

- Rectangular Styrofoam Block
- Decorative Ribbon
Peel and core the apples. Cut them into ¼ inch slices, chop them into smaller pieces and place them in a large bowl. Toss the chopped apples with lemon juice and zest. Since it was my first time making this filling for pie pops, I cooked the apples in slices. They were too big and I had to chop them up smaller after they were cooked so they would fit into my gingerbread shapes.
Mix the sugars, cinnamon, nutmeg and salt in a medium bowl. Toss the dry mixture into the apples. Start with ½ cup of sugar. I you want a sweeter filling, the additional 1/4 cup of sugar can be added if needed.
Heat 1T butter over a medium heat in a Dutch oven or medium sauce pan and add the apple mixture. Coat the apples with the melted butter and cover to cook. Stir occasionally until the apples get soft, about 10 minutes. The McIntosh Apples with start to break down. Taste the filling while it is still cooking to see if you need to adjust the sugar and spices to your taste.
Once the apples are soft, remove the lid and continue to simmer until thickened. You don’t want to have runny liquid in the filling or you will have soggy pie pops and they will fall off the stick.
Remove the filling from the pan and let cool.
Ginger Bread Shaped Pie Instructions
Unroll your pie crust onto a pastry board and start punching out ginger bread shapes. Roll out the extra pieces of crust to make more shapes.
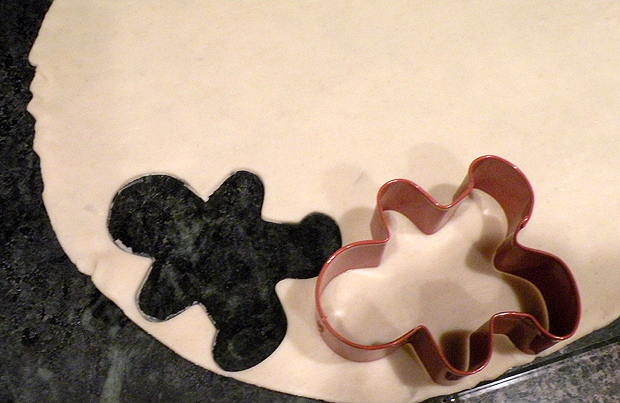
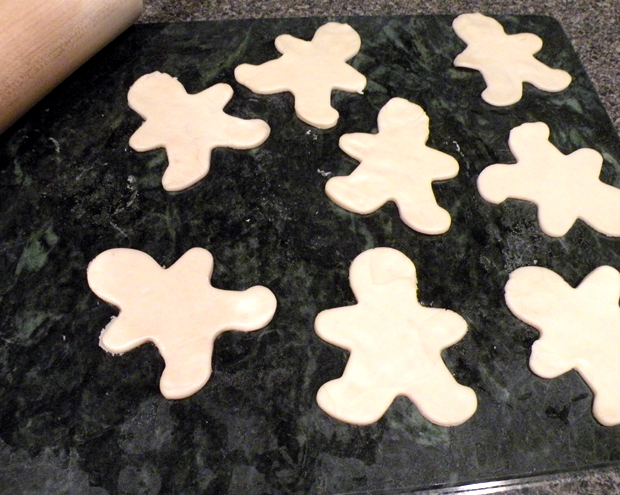
Place the cut people shapes on a parchment covered cookie sheet.

Press a cookie pop stick into to cutout shapes. I put them to halfway up the head so the cooked pies would be secure.
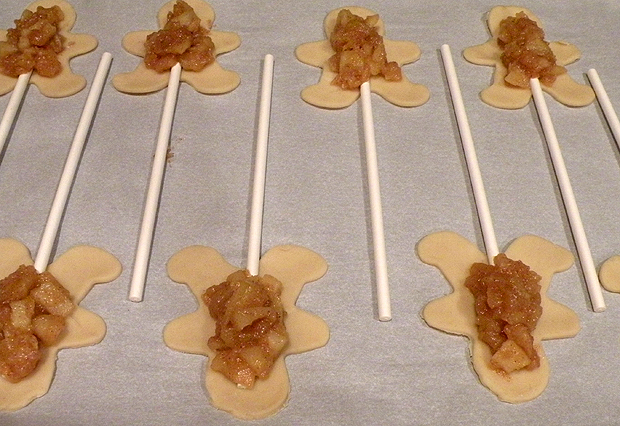
Add the top piece and use a cookie stick to press and seal the edges together. You can break a small piece off of the cookie stick to make it easier to maneuver around the other pies.
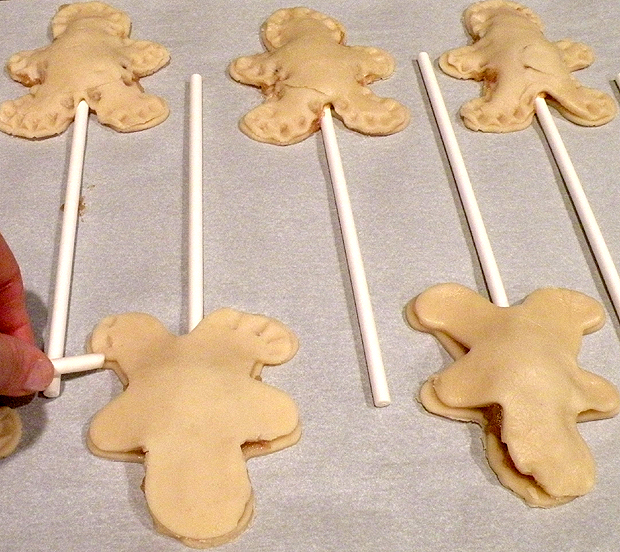
Brush top of the pie people with egg whites…this will give the baked pies a beautiful golden brown appearance.
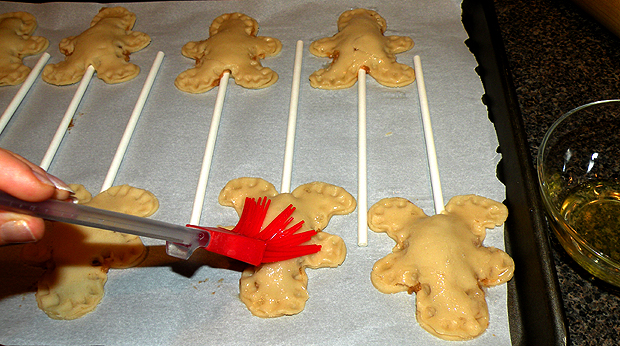
Sprinkle the pies with vanilla sugar for that extra special touch.

Preheat the oven to 375 degrees and bake for about 12 – 15 minutes. Start checking at 12 minutes to see how they look. Keep baking until they are golden brown.
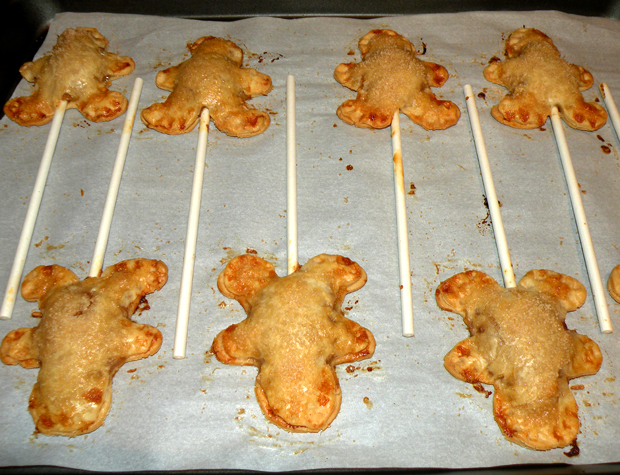
Push the sticks of the baked pies into Styrofoam to cool. Decorate the Styrofoam with ribbon and tie bows around each of the pie pops for a pretty presentation.
Be creative and use different cookie cutters to come up with your own pie pop shapes. You can also use different types of fillings to create all types of fun pies on a stick.