Monday, February 16, 2015

DIY Mardi Gras Party Decorations

Mardi Gras Decorations
Here is my Mardi Gras party decorations segment from WBAL NBC on Sunday. I had a lot of fun making these designs. I love all of the vibrant colors and fantasy aspects of Mardi Gras. If you watch the video, let me know what you think.

Click here to see more of my Mardi Gras designs. Subscribe to my YouTube Channel - I will be uploaded new videos every week!

Mardi-Gras-WBAL-NBC
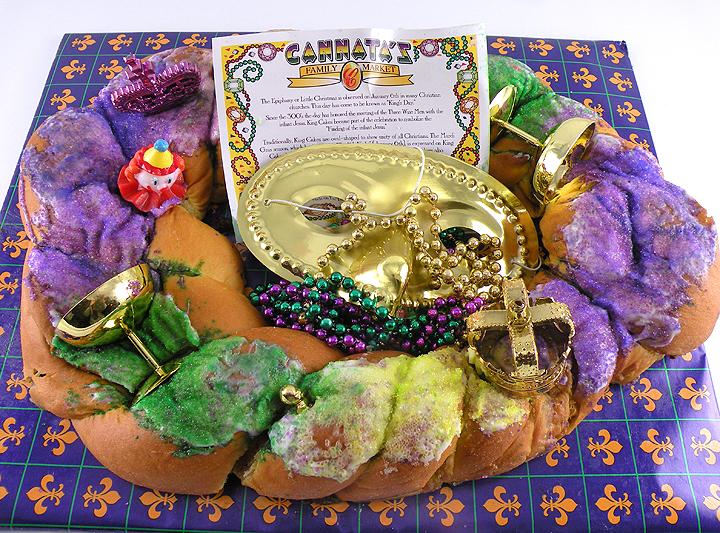
cake
Special thanks to Cannatas King Cakes for the amazing and delicious King Cake!

Here are some of the DIY designs shown in the video.
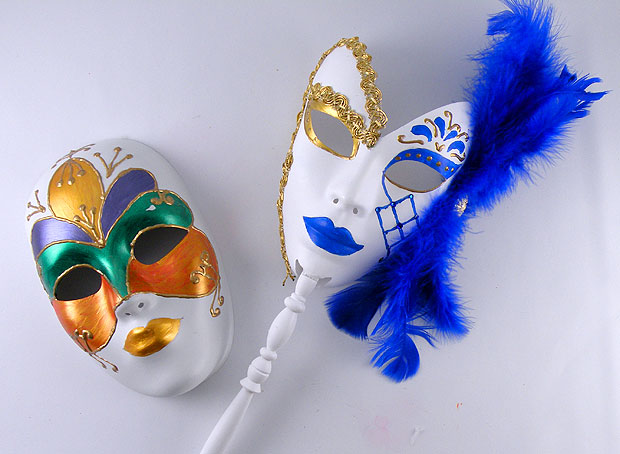
Mardi-Gras-Masks
I created festive Mardi Gras masks with a white plastic mask, painted with multi surface paint and 3-dimensional paint.

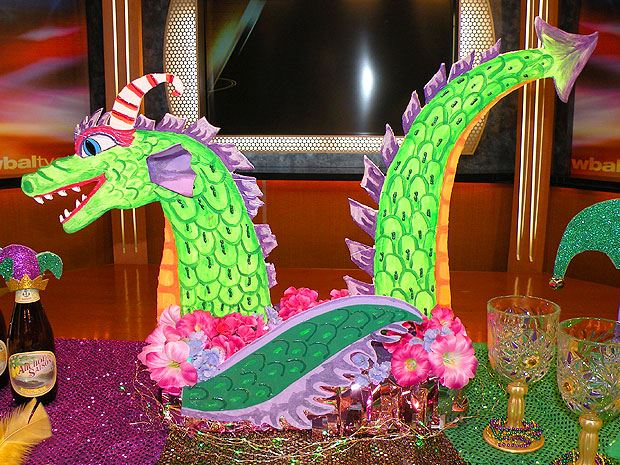
dragon-float
I have always wanted to make a Mardi Gras float. I created this dragon float from inexpensive materials and reused items. I made it from foam core, craft foam, flowers and the base is a brown box. You can easily make your own Mardi Gras themed float using things you probably already have around the house. Contact me if you would like my dragon pattern...I would be happy to send it to you!

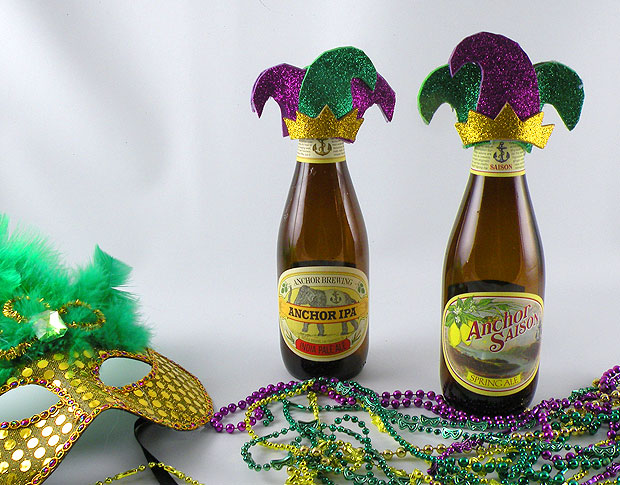
mardi-gras I created these Mardi Gras themed bottles from empty bottles and multi surface paint.
Jester-Hat-Bottles
 I made these cute jester hats out of glittery craft foam to jazz up my beer bottles.

Sunday, February 1, 2015

Super Bowl Themed Party Treats


Here are some fun and easy DIY football treats to help celebrate your Super Bowl. I show how to make a DIY football cookie cutter using household items, a strawberry football holder and delicious football shaped brownies and pies.

Thursday, January 29, 2015

Painted Bubble Wrap

Painted Bubble Wrap

I am always looking for new ways to reused what I already have on hand. For some reason, I had the idea of painting bubble wrap to give my gift bags and boxes a nice textured...almost beaded look. I was surprised how nice it came out. At first glance, it doesn't even look like bubble wrap. I created this heart gift box out of a tissue box where I cut out hearts shapes on all sides and decorated with my painted bubble wrap.

Materials
  • Tissue Box
  • Bubble Wrap
  • Foam Brush
  • Acrylic Paint
  • Gold Cord
  • Craft Glue
  • Tissue or Decorative Mesh Fabric
painting-bubble-wrap
    painting-bubble-wrap
  1. For box design, cut off the top of a tissue box and cut the top edges into a heart shape on all sides of the box. It is best if you make a heart pattern to fit the box because you will be using it to cut out the bubble wrap as well.
  2. Paint the heart box light pink.
  3. Paint the bubble wrap with the foam brush. It is nice how the paint only attaches to the bubbles.
  4. Painted Bubble Wrap

    I am always looking for new ways to reused what I already have on hand. For some reason, I had the idea of painting bubble wrap to give my gift bags and boxes a nice textured...almost beaded look. I was surprised how nice it came out. At first glance, it doesn't even look like bubble wrap. I created this heart gift box out of a tissue box where I cut out hearts shapes on all sides and decorated with my painted bubble wrap.

    Materials

    • Tissue Box
    • Bubble Wrap
    • Foam Brush
    • Acrylic Paint
    • Gold Cord
    • Craft Glue
    • Tissue or Decorative Mesh Fabric
       
    1. For box design, cut off the top of a tissue box and cut the top edges into a heart shape on all sides of the box. It is best if you make a heart pattern to fit the box because you will be using it to cut out the bubble wrap as well.
    2. Paint the heart box light pink.
    3. Paint the bubble wrap with the foam brush. It is nice how the paint only attaches to the bubbles.

      bubble-heart
    4. Cut out four heart shapes to match the ones cut out on the box and attach with craft glue.
    5. Glue the gold cord around the heart to outline the heart.
    6. Fill the box with tissue or decorative mesh fabric.
    7. votives

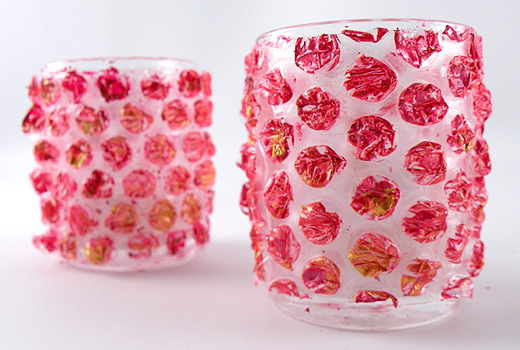
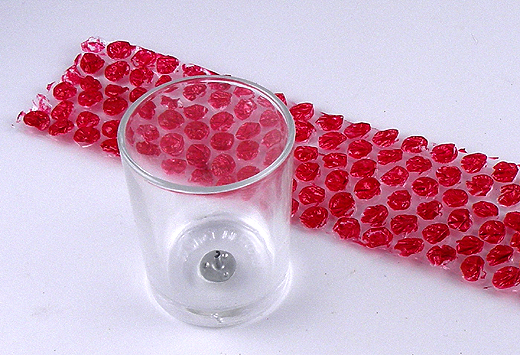
      I liked the look of the painted bubble wrap so much that I also used it to cover votive candle holders. They have such a pretty glow when the lights are dimmed.

      bubble-votive

      Paint a strip of bubble wrap the size to wrap around the votive candle. Attach it to the votive with double-sided tape. I only use battery tea lights with these because I don't want to risk melting the bubble wrap.

      bubble-heart
    8. Cut out four heart shapes to match the ones cut out on the box and attach with craft glue
    9. Glue the gold cord around the heart to outline the heart.
    10. Fill the box with tissue or decorative mesh fabric.

    votives
     
    I liked the look of the painted bubble wrap so much that I also used it to cover votive candle holders. They have such a pretty glow when the lights are dimmed.
     
    bubble-votive
     
    Paint a strip of bubble wrap the size to wrap around the votive candle. Attach it to the votive with double-sided tape. I only use battery tea lights with these because I don't want to risk melting the bubble wrap.

Tuesday, January 27, 2015

Easy to Make Elsa's Ice Castle from Disney Frozen

Frozen-Ice-Castle

Here on the East Coast, we have had our fair share of below freezing temperatures and snowy days this year. I thought I would embrace the winter spirit and show how to make my version of Elsa's Ice Castle from the movie Frozen. I was even able to put my Ice Castle in real ice and snow to give it the Frozen effect. The snow really brings the castle to life. I create Elsa's Ice Castle design on a box with a lid so it can be used as a decoration, gift box, or storage container.

Here is a free downloadable pattern for my design.

Elsas Castle Pattern Box Lid

Elsas Castle Pattern Box Bottom

Click here to watch my tutorial on how to make Elsa's Ice Castle. Subscribe to my channel for updates on my DIY videos.


Friday, May 31, 2013

I Love My...

Hands-Free Bottle Holder


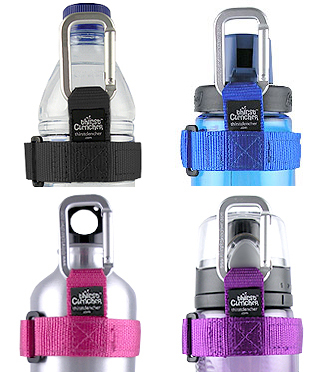
TC_black_lgTC_blue_lgTC_pink_lg                 

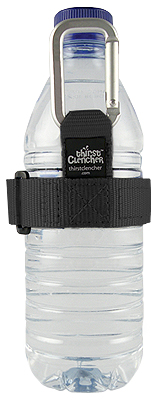
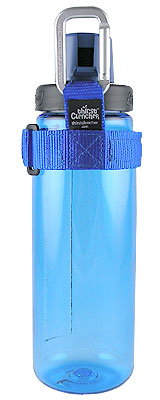
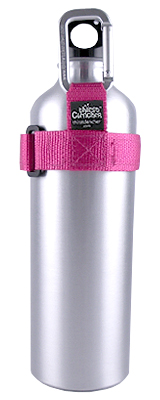
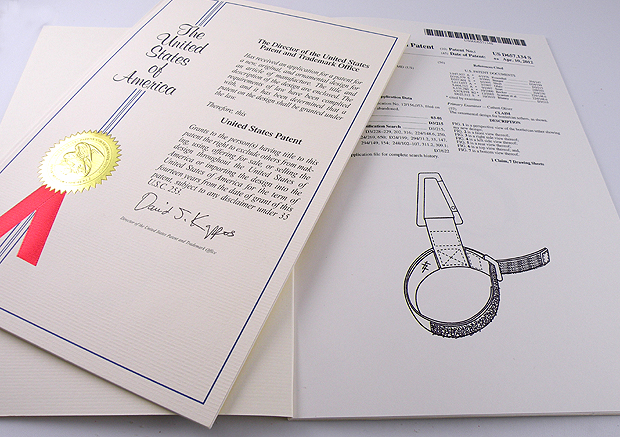
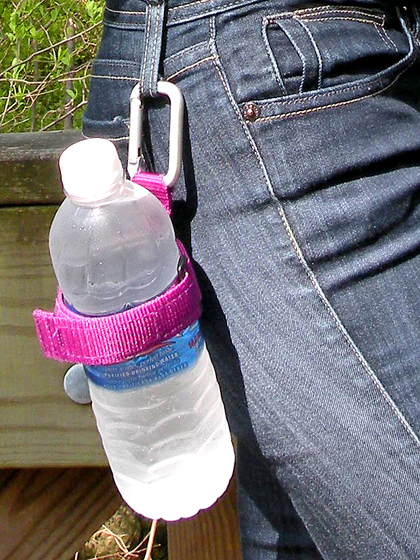
Regardless of the weather, I usually do not leave home without a bottle of water. At times, I found it inconvenient to always have to hold a drink so I designed a clip on drink holder that could attach to my belt loop or purse. I created it to be resizable so it wasn't limited to any one type of bottle or drink. Since I had so many people stop me to ask where I bought it, I decided to have my product manufactured and patented. After five long years of working with the U.S. Patent Office, I was finally granted a patent for my creation. I am now selling it on Amazon, local stores and it even at Kings Dominion. It was definitely a great learning experience and regardless of whether it is successful or not, the education and wisdom I have gained from inventing, designing, manufacturing and patenting a product made it all worth it. Here is a link to the Thirst Clencher website.

patent The long awaited patent!!

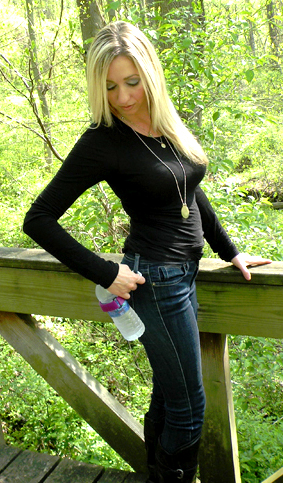
 Gina-bridge-TC-2
The drink holder is so simple to use. Wrap around the bottle, clip on...

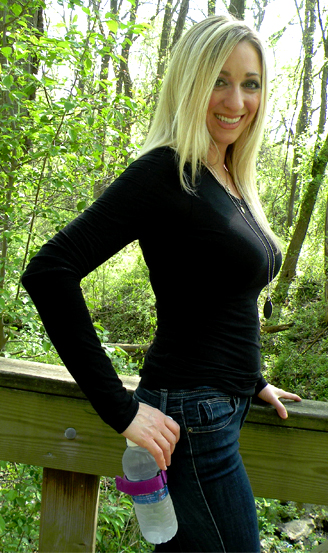
Gina-bridge-TC

TC 

and enjoy being hands-free while still carrying a bottle of water.

TC_all_bottles 

Here are the four fun colors I had manufactured.

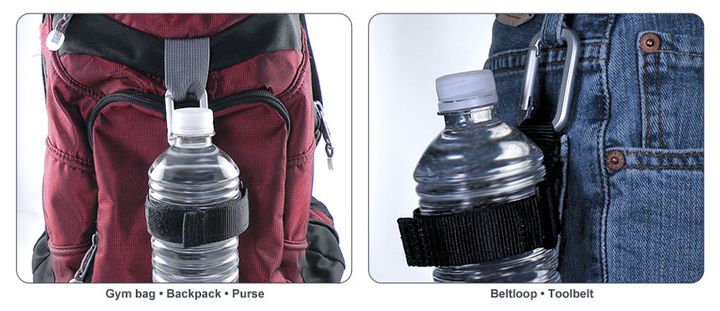
backpack_beltloop

I frequently get emails from people telling me of the all of the interesting ways they use their bottle holder — one person used it to attach a tripod to his backpack, another to hang drinks on a chain link fence in a dugout for a softball team and another used it to attach to the handle of her dog leash so she could walk her dog without holding a drink. It is always fun to hear new uses that hadn't occurred to me. I just love it because it allows me to go anywhere with my water and still be hands-free.

Thursday, December 27, 2012

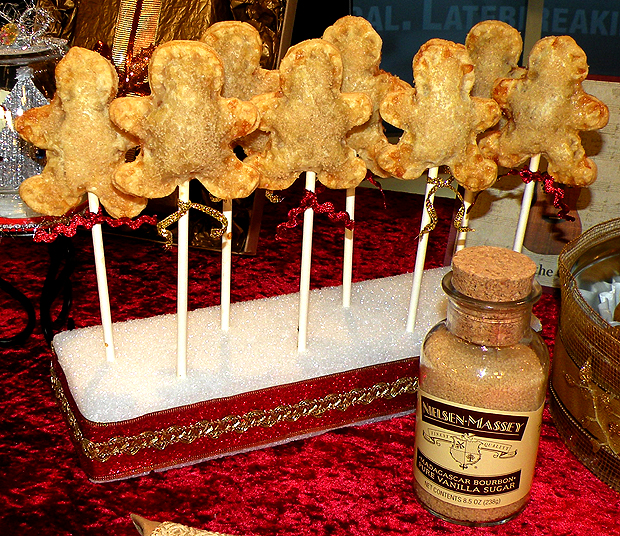
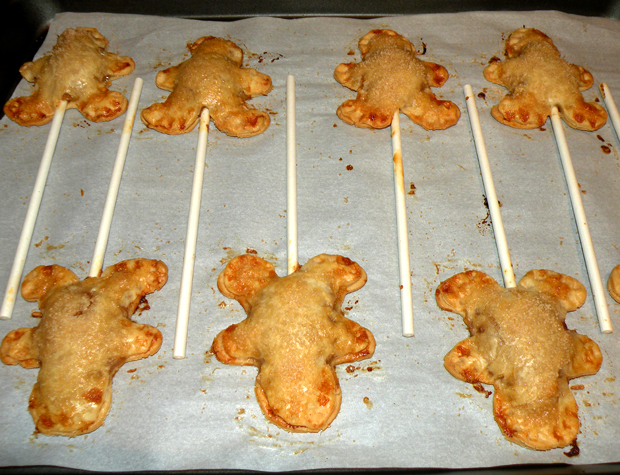
Apple Pie Pops


I thought it would be a fun for the holidays to make mini apple pies on a stick shaped like gingerbread people. I knew I would have to precook the filling for these little pies first or the apples would never get soft. I researched Classic and Dutch apple pie recipes to get an idea of how I wanted to make my filling. I used store bought pie crust to save time because with so much to do for the holidays.

Materials


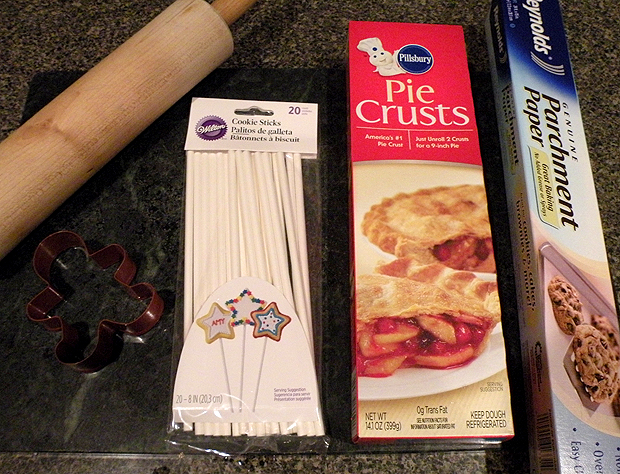
  • Rolling Pin
  • Pastry Board or cutting board
  • Cookie Sticks
  • Pie Crusts
  • Parchment Paper
  • Cookie Cutter
  • Baking Sheet
Filling Ingredients
  • 3 Large Granny Smith Apples
  • 4 Large McIntosh Apples
  • 1 tablespoon fresh Lemon Juice
  • ½ t lemon zest
  • ¾ cup sugar
  • 2 t cinnamon
  • ¼ t nutmeg
  • ¼ t salt
  • 1 T dark brown sugar
  • 1 T butter
Crust Ingredients
  • Pre-made Pie Crust
  • Egg White
  • Nielsen-Massey Vanilla Sugar or Raw Sugar
  • Cooke Pop Sticks
  • Ginger Bread Person Cookie Cutter
  • Parchment Paper
Mini Pie Holder
  • Rectangular Styrofoam Block
  • Decorative Ribbon
Apple Filling Instructions


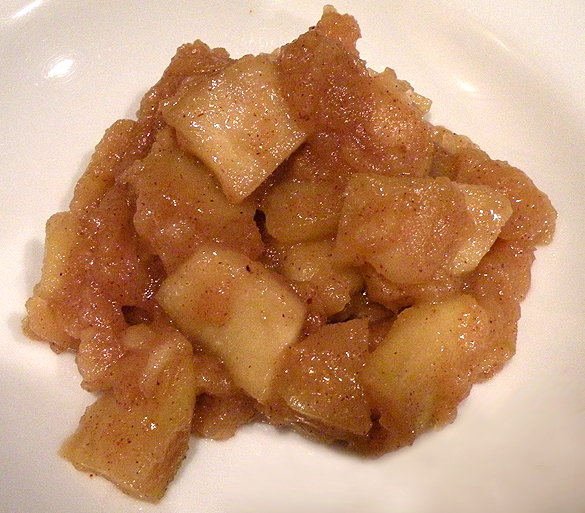
Peel and core the apples. Cut them into ¼ inch slices, chop them into smaller pieces and place them in a large bowl. Toss the chopped apples with lemon juice and zest. Since it was my first time making this filling for pie pops, I cooked the apples in slices. They were too big and I had to chop them up smaller after they were cooked so they would fit into my gingerbread shapes.

Mix the sugars, cinnamon, nutmeg and salt in a medium bowl.  Toss the dry mixture into the apples. Start with ½ cup of sugar. I you want a sweeter filling, the additional 1/4 cup of sugar can be added if needed.

Heat 1T butter over a medium heat in a Dutch oven or medium sauce pan and add the apple mixture. Coat the apples with the melted butter and cover to cook. Stir occasionally until the apples get soft, about 10 minutes. The McIntosh Apples with start to break down. Taste the filling while it is still cooking to see if you need to adjust the sugar and spices to your taste.

Once the apples are soft, remove the lid and continue to simmer until thickened. You don’t want to have runny liquid in the filling or you will have soggy pie pops and they will fall off the stick.

Remove the filling from the pan and let cool.

Ginger Bread Shaped Pie Instructions

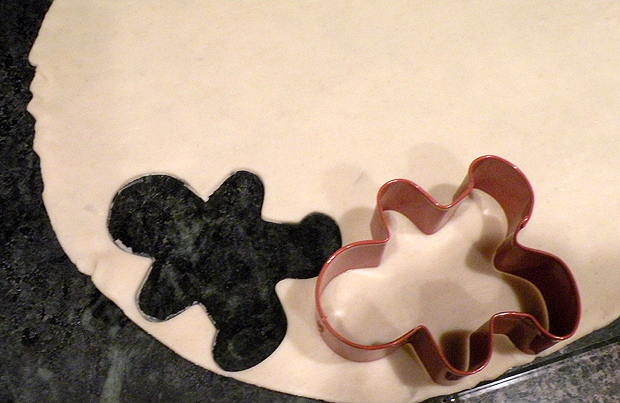
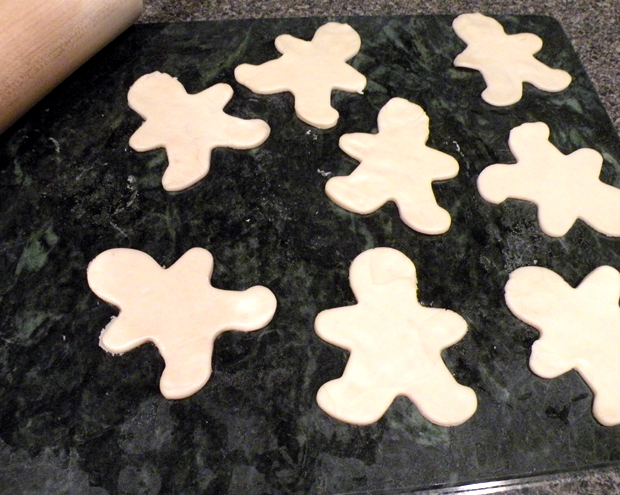
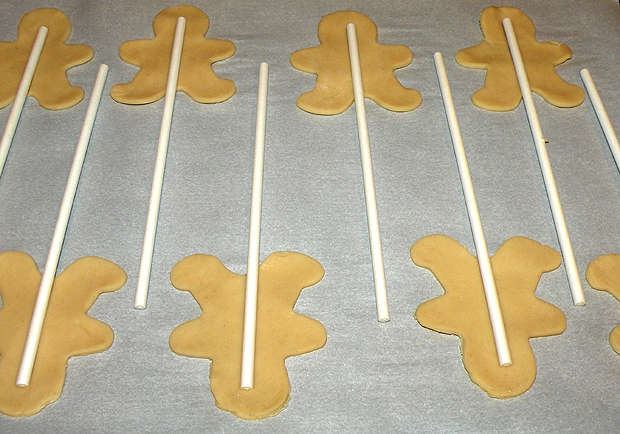
Unroll your pie crust onto a pastry board and start punching out ginger bread shapes. Roll out the extra pieces of crust to make more shapes.


Place the cut people shapes on a parchment covered cookie sheet.


Press a cookie pop stick into to cutout shapes. I put them to halfway up the head so the cooked pies would be secure.

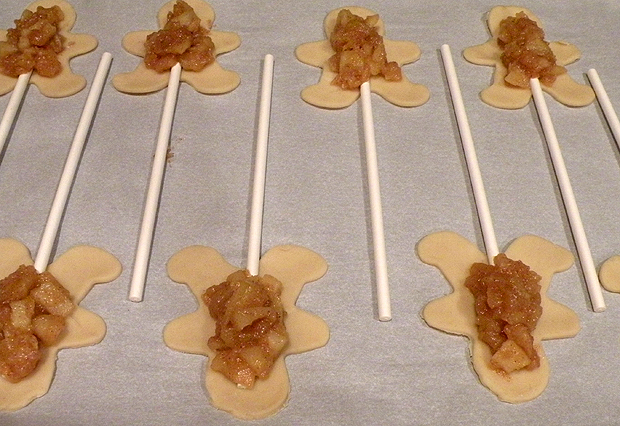
Add filling. I have a tendency to add too much and it starts to squeeze out when I am sealing the pies.


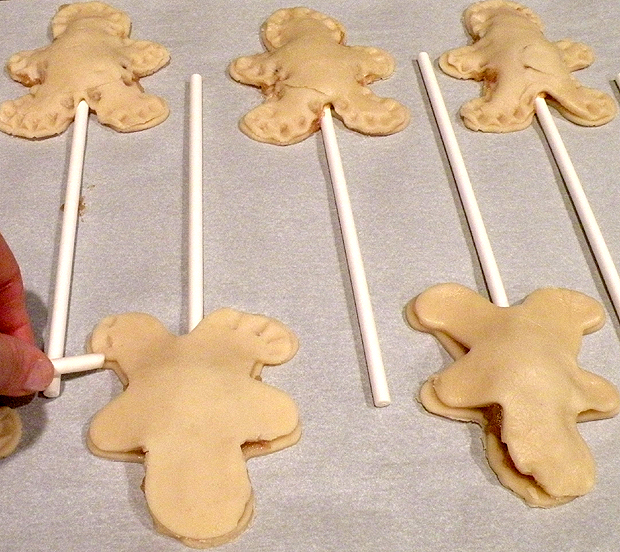
Add the top piece and use a cookie stick to press and seal the edges together. You can break a small piece off of the cookie stick to make it easier to maneuver around the other pies.


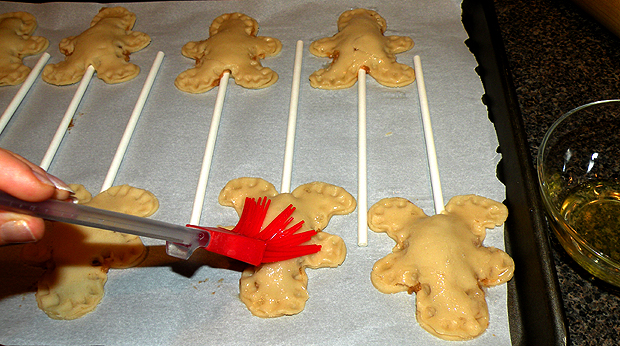
Brush top of the pie people with egg whites…this will give the baked pies a beautiful golden brown appearance.


Sprinkle the pies with vanilla sugar for that extra special touch.


Preheat the oven to 375 degrees and bake for about 12 – 15 minutes. Start checking at 12 minutes to see how they look. Keep baking until they are golden brown.


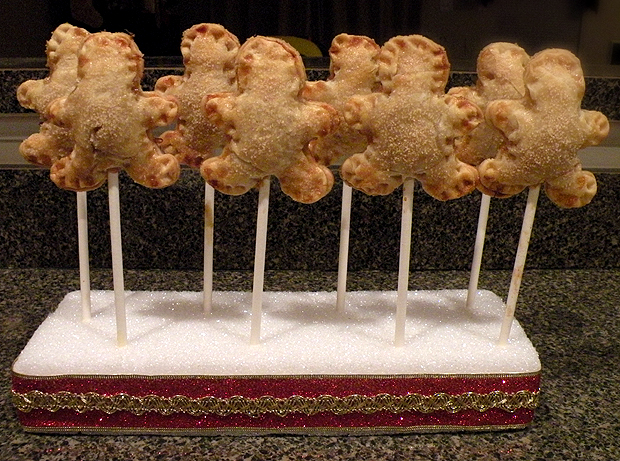
Push the sticks of the baked pies into Styrofoam to cool. Decorate the Styrofoam with ribbon and tie bows around each of the pie pops for a pretty presentation.


Be creative and use different cookie cutters to come up with your own pie pop shapes. You can also use different types of fillings to create all types of fun pies on a stick.

Saturday, December 22, 2012

Holiday Gift Looks

I have compiled photos of some of the gifts I have wrapped to give some ideas of how to wrap gifts in a beautiful way that are unique for each individual. I always like to change the style of my gift decorations to suit the personality of the recipient. I think that the presentation of the gift is just as important as the present itself. I love to see someone’s face light up when they are given a gift that has been wrapped with care. It makes them feel special and brings extra happiness to their day.

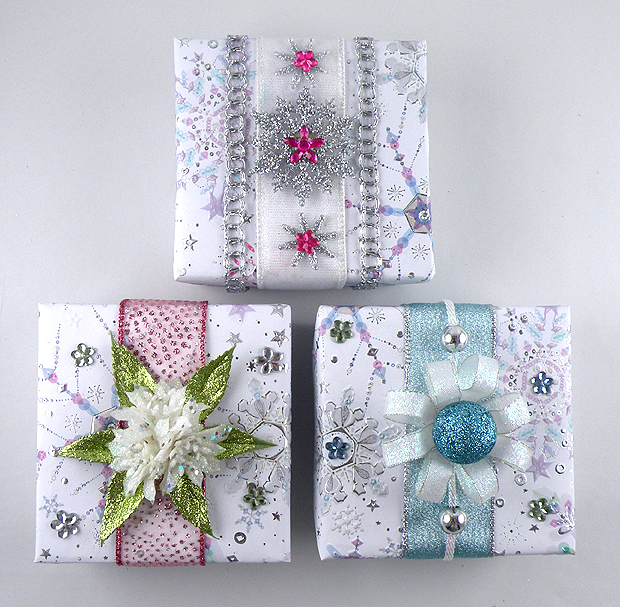
Icy Gifts

I used ornaments, beads, holiday picks, ribbons and rhinestones to make these icy gifts. This winter theme is perfect for a nonspecific holiday.


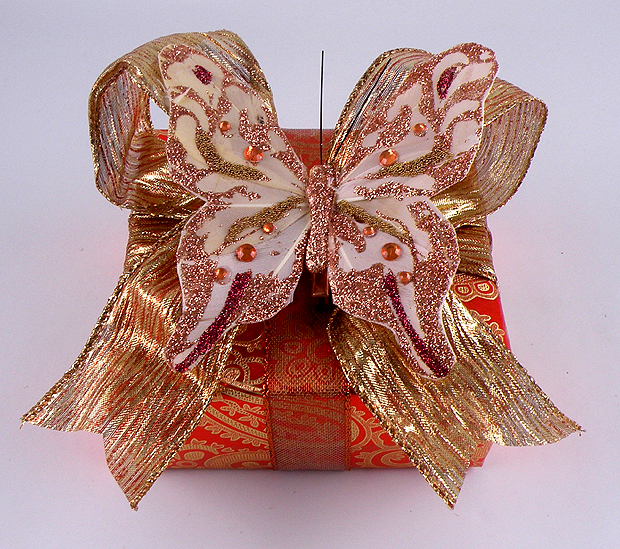
Papillon

I love tone-on-tone gifts. I found inexpensive butterflies at the craft store and exaggerated the wings with a big fluffy bow that I made from wired ribbon.


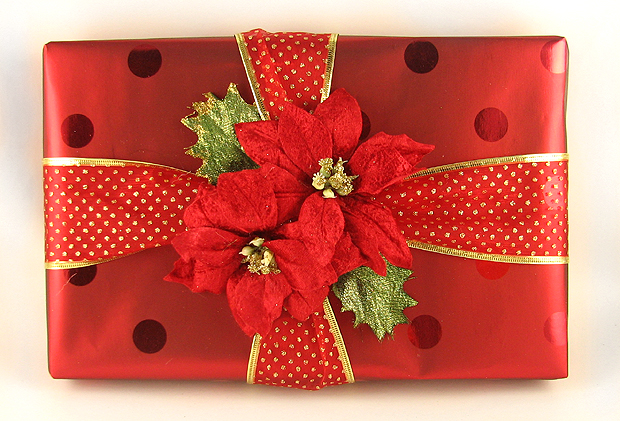
Poinsettia Power

Holiday flowers are an easy way to add elegance to a gift without making a bow. Just pull them off the stem and glue them directly on to the center of the gift. I like to cut off a few leaves and tuck them under the flowers to add a little more color.

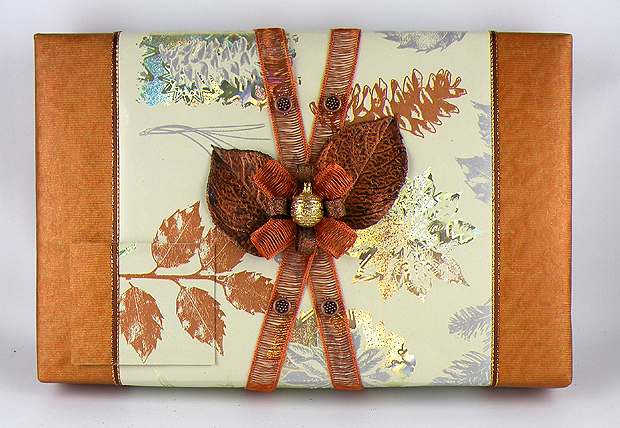
Brawnz

Leaves

This is more of a masculine gift with the bronze leaves and beads for the brawny man who doesn't like flowery gifts and bows. I layered two types of paper to get this look and then lined the raw edges with thin ribbon. If you notice, I matched the wrapping paper on the left bottom side to make a gift card that blends into the gift.

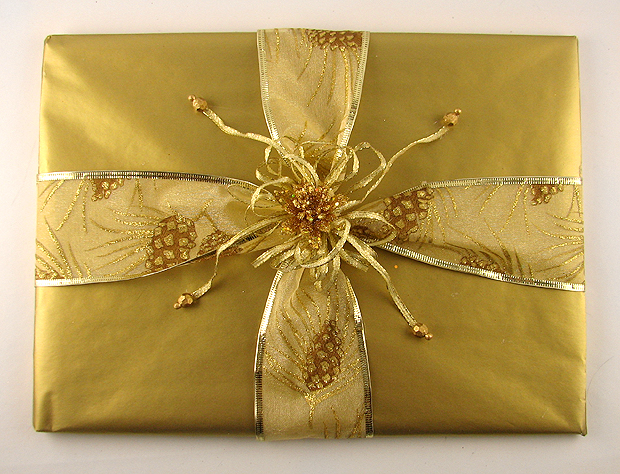
Five Minute Gift Wrap This was just a quick five minute gift I wrapped because I had to run out the door with a present on short notice. I doubled tissue paper for the wrapping and found some ribbon pieces, beads and flowers to make look classy. You can never go wrong with a tone-on-tone gift design...it makes even the simplest gift look elegant.

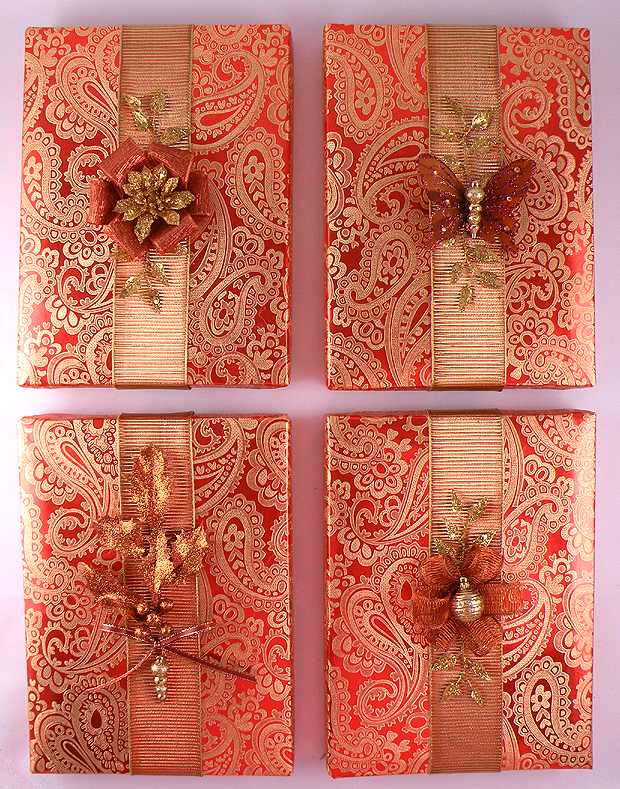
Deja Vu

Tone-on-tone again but each of the accents is slightly different. I like to cut pieces off of holiday picks to attach to the gift to add warmth and elegance. These were also very quick and easy to make.  I just wrapped a band of ribbon around the gift and glued on accents. People look at these designs and at first they think they look almost same but yet somehow different....


I hope this gives you some ideas and inspiration. Just remember, there are no rules to gift wrapping. Just be creative and your gift will come out beautiful and unique.

Happy Wrapping!